This DIY fabric wall art project is super easy and you can customize it to fit your decor. Even better, the 3 DIY Fabric Wall Art pieces came in under $20. Also, the canvas and the fabric are reusable.
Here are the few items you need to start this project:
Stretched Artist’s Canvas 8×10 (or the size you prefer) http://bit.ly/2h9HIhB
Fabric of your choice (Fat quarter size is perfect)
Thumbtacks (Dollar Store)

Materials needed for this project
First, iron your fabric if it’s wrinkled. Lay your canvas over the fabric and leave about two inches on each side of the canvas. Now take the fabric and pull tautly to the back and sides of the canvas. Use the thumbtacks to pin the fabric to the frame of the canvas. Additionally, you can use a hammer to gently hammer the tacks into the canvas framing. Remember to pull very tightly on each side of the canvas to ensure the fabric is not buckling. Lastly, trim away the extra fabric. (If you do not have thumbtacks on hand, fabric glue would work as well)
I used three canvas boards and they look awesome in my powder room. I left a link above for the artist’s canvas that are a great deal at Michael’s. Be sure to use a 40% or 50% off coupon. Here is a picture of the art in our powder room:
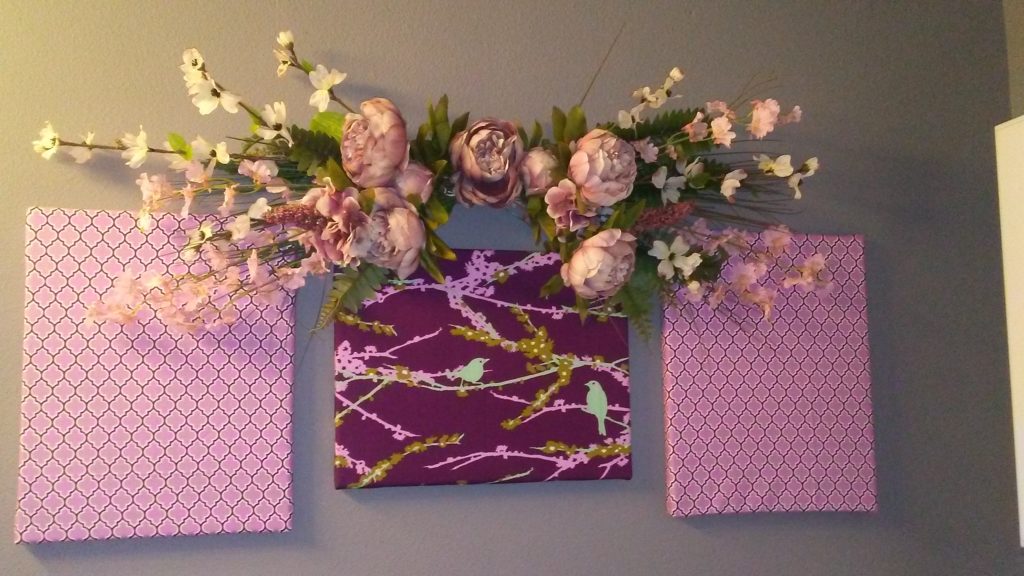
Three pieces of DIY Fabric Wall Art for under $20. Just a few materials and you’re on your way to creating reusable do it yourself wall art.
Finally, if you change your wall color, you can swap out your old fabric with new fabric to match your new decor. Just take a butter knife and slide it under the tacks to loosen and retack the new fabric onto the canvas. Not bad for three pieces of wall art under $20.
Oh and by the way, do not throw away any of the fabric pieces that you trimmed away. You can reuse it for making fabric twine, fabric washi tape and more. Happy crafting!